Showing posts with label Kirsten. Show all posts

Thursday, November 21, 2013

Kirsten Warkow: Week 10 Scanned Object


Spoka the Panda (object that was scanned)
Close Up of Mesh

Original Mesh of Panda
Ghosted View of Tootie

Keyshot Rendering

Keyshot Rendering

Keyshot Rendering


UPDATE: After a little misunderstanding, I created a separate product apart from the 3D scanned image that Jamie and I uploaded. After working with the mesh, neither of us could figure out how to extract the surface curves from our mesh model, so we created curves based on our right, front, and top views of our mesh and swept the panda.
In my own modeling of the Panda product, I decided to make "Spoka" into "Tootie," the Toot Scoot Panda! Toot Scoot Panda is meant to be a toy car. I used boolean difference and fillet edges to create the wheels and hat.
In Keyshot, I rendered my panda with hard plastic and soft touch material. I gave the Toot Scoot Panda a hat so he could be "off to the races!"


 For the laser scanning project, Jamie Lim and I scanned my squishy panda light named Spoka. I had originally tried to scan a few other objects such as my garmin watch and a foam model of a babushka doll, but neither of those models were fused and cleaned up properly to use as acceptable models. The Panda Light was a large file, but worked and was our best model. Because of his form and size, I thought Spoka would be a perfect object to be scanned. Scanning using the next engine scanner was quite frustrating at first, but we ended up getting a good product after a few tries!
In Scan Studio, 7 pictures were taken of the panda light which I then aligned and fused. Then, when I imported the model into Rapidworks, I "Globally Remeshed" the light to create a smooth, even surface.
I then imported the model into Rhino, which Jamie remodeled the mesh of the panda and rendered the object in Keyshot with soft plastic.

Wednesday, November 20, 2013

Jamie So Whi Lim: Week 10 Laser Scan

For this project, I worked with Kirsten. We tried to scan a few objects like a watch, doll, and a panda light. The most successfully scanned one was the panda, so we decided to work with it. We smoothed out the panda with rapidworks. When we brought it to rhino, there was not much to fix.
Then I remodeled the panda light. I rebuilt a sphere and moved the control points around. When I was rendering in keyshot, I used a blue area light for the inside, and a clear plastic for the outside so that the color of the light would show through the outside part of the panda.
For the rendering of the original rhino with meshes, I used soft rough plastic with red color.


meshes in rhino
close up view (meshes were too close together)
remodeled in rhino
original mesh rendered in keyshot


remodeled rendered in keyshot

original panda light

Tuesday, November 19, 2013

Kirsten Warkow: Week 9 Camera


Ghosted View
Ghosted View

Keyshot Rendering

Keyshot Rendering
Keyshot Rendering
Keyshot Rendering
Keyshot Rendering

For my camera design, I was inspired to create a camera for the casual photographer based on the designs of the Fujifilm XP10 and the Fujifilm Instax Mini. I incorporated the design features from the XP10 such as the large screen that also acts as a viewfinder and the longer body while creating a smoother design based off of the Instax mini. The Pocket Pal was also created to be a smaller size, easily fitting in one's pocket and traveling on the go. The camera features flash, a self timer light, a loop hole for a strap, and a charging plug-in.
In Rhino, I modeled most of my camera using the blend surface and trim commands while also using the fillet edge and boolean difference commands. I used the blend and trim technique for the large shape of the body, as well as for fitting in the lens. Some buttons and extrusions are also made using the blend and trim commands. The majority of buttons are filleted and boolean differenced into the camera body.
For my Keyshot material choices, I modeled the camera in soft, rough plastic with aluminum buttons and a glass lens. The self timer light to the left of the flash is also made of glass along with the flash panel itself. While not made to be incredibly durable, the Pocket Pal is meant to withstand the dings and dents of everyday use being made of thick, rough plastic. I also chose to create the Pocket Pal in multiple colors and styles to appeal to a wide range of people in the market. Both the Fujifilm XP and Instax Mini also have many different colors and styles for their products, which inspired me to do the same.


Picture in Viewfinder: http://carrotsncake.com/wp-content/uploads/2012/05/3-Pugs-in-a-Tub_thumb.jpg
Inspiration & Influence: http://waterproofcamera-s.com/waterproof_camera_images/Fuji/Fuji_xp10/fuji_xp10_blacktilt.jpg
http://www.storeinfinity.com/media/catalog/product/cache/1/thumbnail/9df78eab33525d08d6e5fb8d27136e95/f/i/finepix_xp10_pink_10.jpg
http://images03.olx.com.ph/ui/11/45/84/1340153945_402154184_3-Instax-Mini-7s-ChocoWhite-Cameras-Camera-Accessories.jpg


Tuesday, November 12, 2013

Kirsten Warkow: Week 8 Chair

Ghosted View

Ghosted View for Keyshot

Keyshot Rendering with Isometric View

Keyshot Rendering with Orthographic Views and Dimensions

Keyshot Rendering

Keyshot Rendering (Remote and Button Close-Up View)

For my tubular chair design, I decided to create something out of the ordinary and came up with the idea for a flying chair. Inspired by the design of a helicopter, The Heli-Flyer is an electric powered chair that can fly using a propeller at the top. Remotes on the right and left arm rests of the chair can control the flyer's direction, ascension, and descent. The basic white buttons control the direction, the blue button controls ascension, and the orange button controls the decent.
In Rhino, I modeled my chair using the Boolean union command, the Fillet edges command, as well as the Pipe and Split commands. To create the top and bottom cushions of the flyer, I created a basic elliptical shape and then rebuilt the line structure and morphed the ellipse to get a cushion-like shape. To create the buttons for the remote as well as a space for the propellers, I used the boolean difference command.
For my Keyshot material choices, the metal piping of the chair is made out of steel, the cushions are red-velvet, and the remote, bottom landings, and propeller parts are made out of plastic. I didn't want to use too many materials for my chair, but I just wanted to have reasonable and sensible materials for every part of my design. I chose red as the main color so that when in flight, the Heli-Flyer can be spotted from a distance. As far as lighting goes, I kept the basic environment the same and really only played with contrast to get my reflections on the shiny steel pipes.

Inspiration: http://www.helibott.com/images/photos/helicopter3.jpg


Tuesday, November 5, 2013

Kirsten Warkow: Week 7 Lamp

Ghosted View
Keyshot Rendering
Keyshot Rendering
Laser cut lamp (Lights Off)

Laser cut lamp (Lights Off)

Laser cut lamp (Lights On)

Root Object

UPDATE: Added pictures of the laser cut lamp with lights on and lights off. The finished product turned out wonderfully! The form and shape of the lamp really comes to life when it is illuminated in the dark. Also added a picture of the lamp's root object.

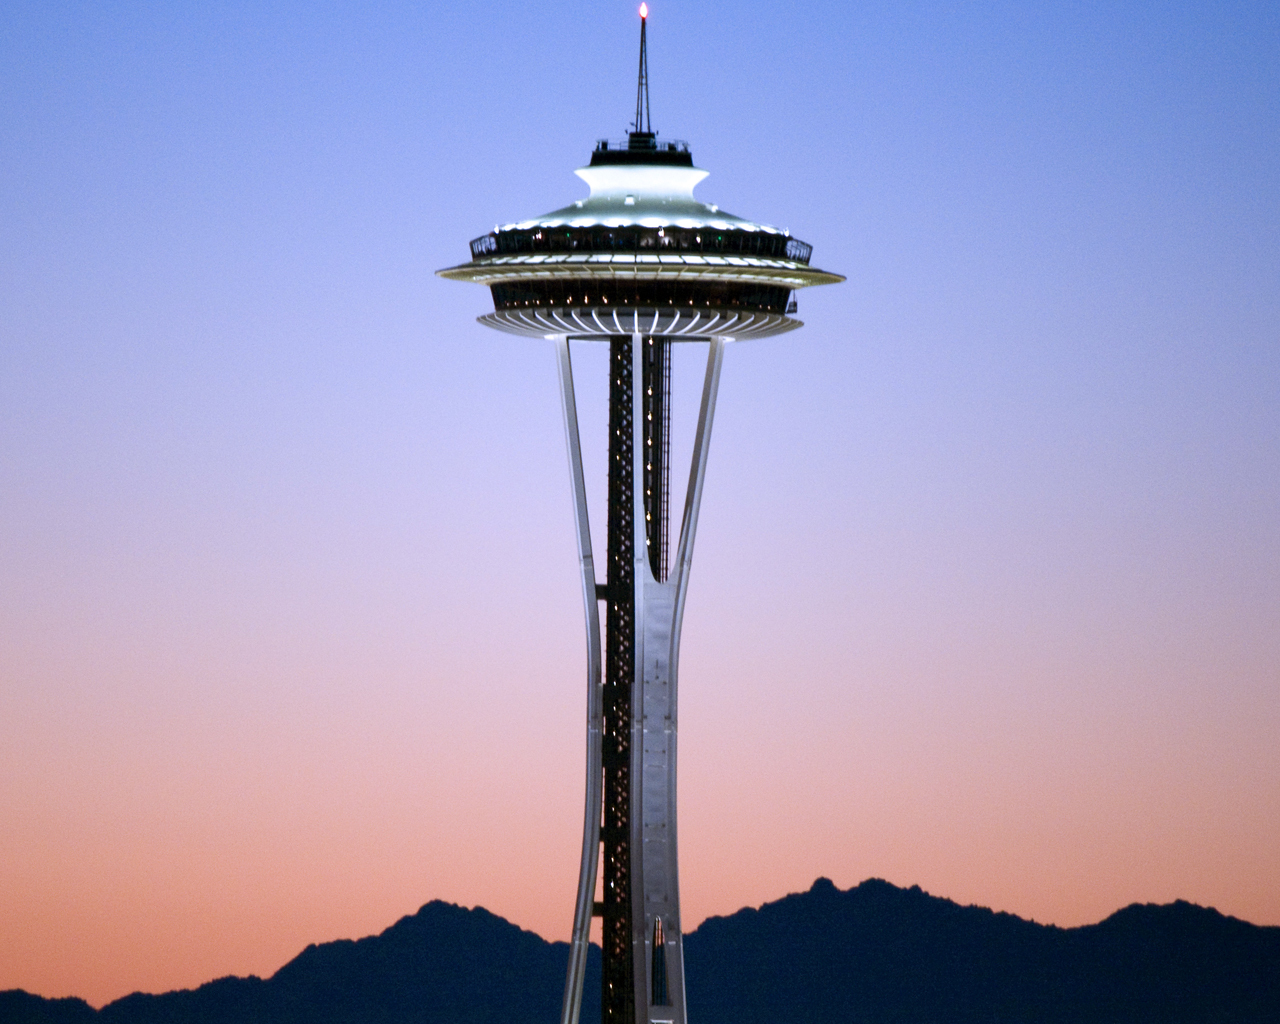
For my lamp design, I was inspired to create a shape based on the form of the observation tower of the Seattle Space Needle in Washington. The landmark has such an interesting form and I felt that it would make a great idea for a lamp structure. I wanted my lamp to remain shorter in size so that when laser cut it would easily fit onto a table and not take up too much space. When modeling in Rhino, I created a free form curve, revolved it, and then used the contour and section command to divide the shape into eight vertical and eight horizontal surfaces. I then used the extrude surface command to generate my solid lamp pieces. In Keyshot, I rendered my lamp in heavy grain wood to represent luan and put a glass bulb with an aluminum attachment in the middle. When modeling with the lights off, I bumped up the contrast of the environment to make the light stand out and shine through the lamp.

Inspiration & Influence: http://images2.fanpop.com/image/photos/10400000/Sunset-Needle-seattle-10479318-1280-1024.jpg

Monday, October 28, 2013

Kirsten Warkow: Week 6 Ring

Wolf Pup Drawing from Adobe Illustrator

Ghosted View

Ghosted View

Ghosted View for Keyshot

Keyshot Rendering in Passes

Keyshot Rendering in Passes

Keyshot Rendering in Passes (Back View)
3D printed ring (side view)

3D printed ring (front view)

3D printed ring (back view)
UPDATE: Added images of the 3D printed ring. While it is big enough to fit on my fingers, the ring itself is smaller than I imagined it to be and the design is very faint and hard to see. Had it been a bigger ring, I think the design would have been more visible!

 For my ring design, I was inspired by the design of my favorite ring. The design features a fox head, and I wanted to create my own unique version of the ring using a wolf pup.
 In Photoshop, I drew a wolf pup head using a Cintiq computer and then brought the drawing into illustrator to image trace and rasterize it for modeling in rhino. When modeling in rhino, I used the create arc, Boolean difference, and sweep2 to create my ring body and then used hatch, extrude solid, and split for the top portion. Putting the drawing into Rhino and hatching it was my favorite part of the process!
 For Keyshot, I chose Anodized metal for the ring body, hard plastic for the wolf face and ring top, and used basic metal for the moon and spherical stars. My ring was designed not as a fancy or expensive product, but something rather to be mass produced and sold at a cheaper price, hence the plastic and metal material choices. For my lighting and rendering, I decided to render in passes which created lots of different reflections and values on the ring. I kept the metal shiner than the ring top purposefully to emphasize the difference in materials.
Inspiration: http://i.ebayimg.com/t/Brand-New-Francescas-Fox-Ring-/00/s/NjgyWDEwMjQ=/z/8RAAAOxydkZRlqd~/$%28KGrHqRHJE0FGWmoq,mPBRlqd-t1jw~~60_35.JPG


Tuesday, October 15, 2013

Kirsten Warkow: Week 4 Detergent Bottle

Ghosted View

Ghosted View

Ghosted View for Keyshot

Keyshot Rendering

Keyshot Rendering

Keyshot Rendering
 For my detergent bottle, I created a skinnier type of bottle called the "Sleek Wave" which was made to hold detergent for delicates. Instead of a bulkier and bolder bottle, I wanted to create something that would be less heavy and more calming to the mind. In Rhino, I enjoyed modeling with the blend surface technique as well as splitting and trimming to create the shape of the bottle. When modeling in Keyshot, I chose a "cool" color scheme and put hard rough plastic for the body and hard shiny plastic for the cap. Because the bottle was white, I tried to adjust the lighting where the shadow was behind the bottle to create a good sense of contrast.

Small capped bottle for inspiration: http://image.shutterstock.com/display_pic_with_logo/244864/244864,1271100463,3/stock-photo--bottle-of-laundry-detergent-50787082.jpg