Showing posts with label week 2. Show all posts

Tuesday, April 8, 2014

Ruan Basson: Week 2 Flashlight

First Attempt
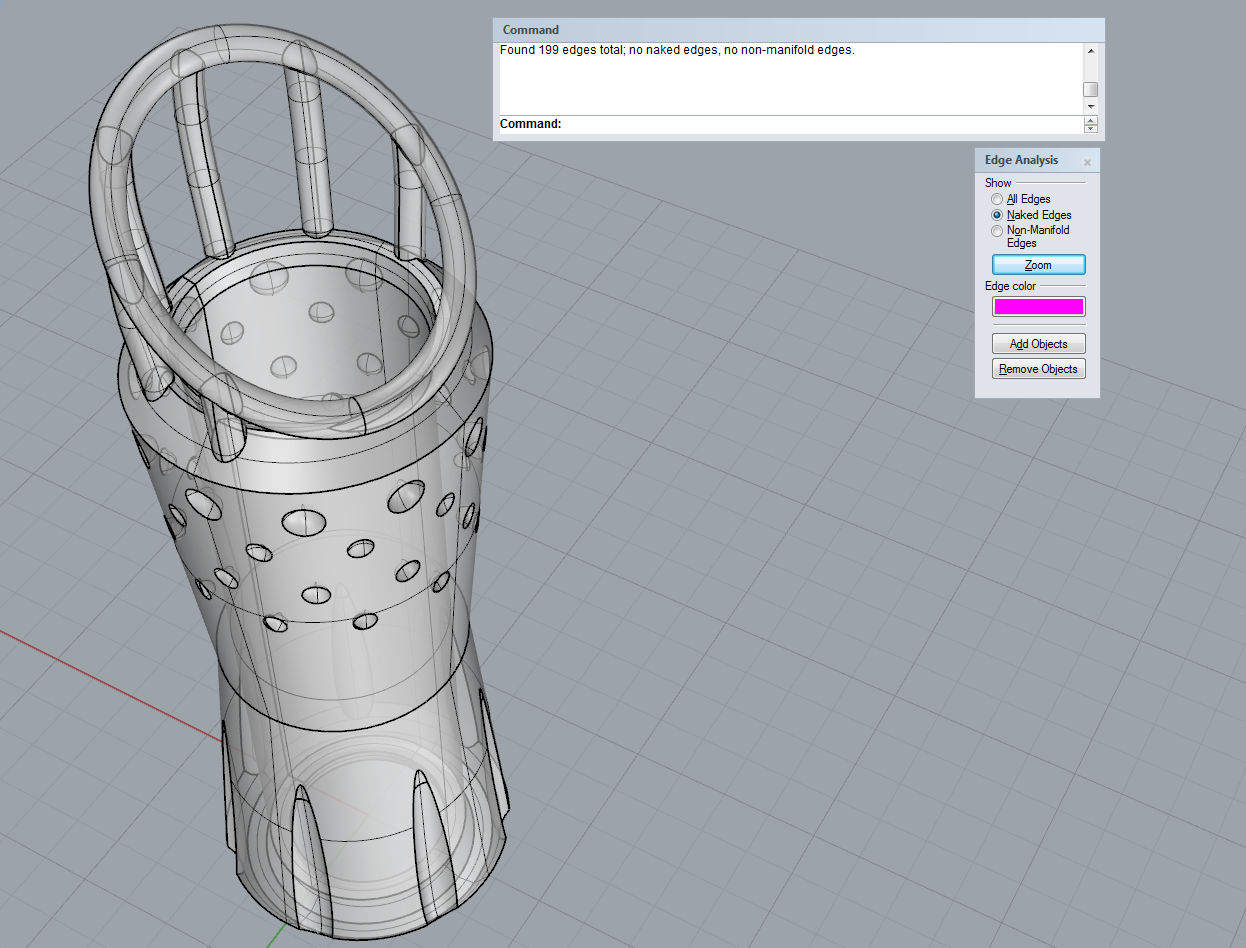
Ghosted View of Orbitus (Final)

Profile View

Elevated 3/4 View

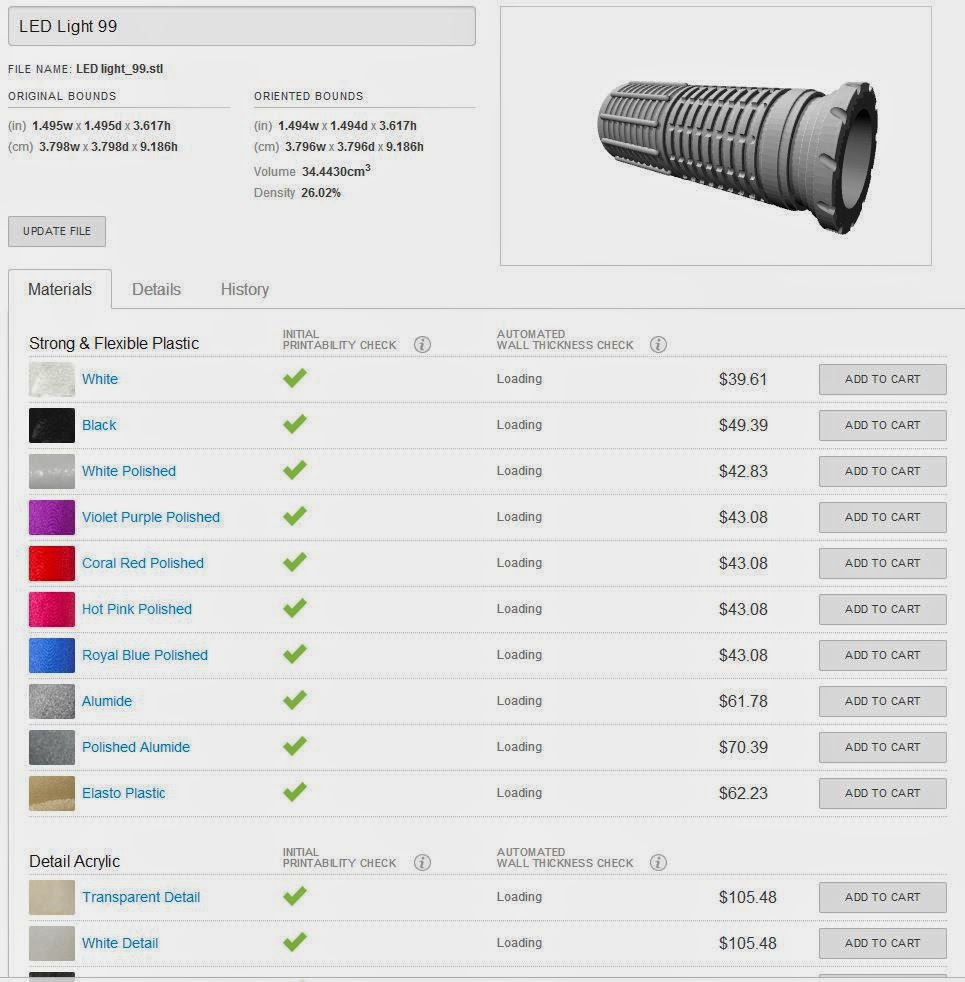
Shapeways Profile

My goal for this sleeve was to see how far I could push the profile without breaking the bounding lines.  Initially I planed on making a sort of bird's nest around the light, but I ran into difficulty creating solid forms without naked edges.  That is when I moved to Orbitus.  It retains elements of the original, but with more achievable forms.  I am pleased with the result of the new sleeve, but given the choice I will try to ready the previous model for printing.

I used the Revolve tool to get the sleeve shape from the original curve drawing with chamfered edges.  The Boolean Difference too came in hand to get all the cutouts.  For the top ring, I revolved the boundary box for the sleeve and projected a curve across it, and finally used the Pipe command.  I drew curves and used the Array Polar command to get the columns and then piped them as well.  It took a while to go in and trim all the intersections to join them, (I realized too late that the Boolean Union tool negates all these superfluous steps).  

The materials for the sleeve are all what you could get from 3D printing, with he exception of the transparent top portion.  I would like that to be either a transparent or translucent plastic, but for illustrative purposes I have used glass in the rendering.  The idea is that the light emitting from the flashlight will catch in the transparent/translucent plastic and illuminate it, giving a really interesting effect.  I am a huge fan of minimalism, and so Black, White and Transparent fit in nicely to that aesthetic.  I enjoyed the process and can easily see myself doing it again.

Joel Salomonsson: Week 2 LED Flashlight


Render 1

Render 2

Render 3

Render 4

Ghosted Image

Shapeways


The inspiration for my design is the lightsabers in Star Wars. I thought that it would play nice with the LED flash light. 

I used the curve template that was available and started modifying the curve to the way I wanted it. I used curves and curveBoolean to get the main shape as well as the fillet tool to get rid of the sharp edges. when I was satisfied with the curve i used revolve to get the finished polysurface of the flashlight. I then added Pipes with rounded caps to the bottom of the flashlight and the copied them and moved the a little bit above and used BooleanDifference to get an interesting contrast. On the top I used the same BooleanDifference technique but I rotated the Pipes in different directions to get more of an interesting shape. I then added a light switch to the side to add to the lightsaber design. 

I chosed to have gold and silver as materials because if you have a lightsaber you do not want it to look cheep. You want to make a statement when you slice other peoples arms off. 


Xiaoyang Chen Week2 Flashlight


For the design of my flashlight sleeve, I wanted it to be both addition and subtraction. Also, I wanted the surface to be both rounded and flat. At the same time, I wanted it to be ergonomics; so I tried to avoid the 90 degree angles.

For the addition and subtraction I used the BooleanUnion and BooleanDifference. For the rounded edges I used fillet commend. Also, I used arrayPolar to arrange the elements. The other commend I used were revolved, UseExtrusions and MatchSrf.


For the materials, I used Grey Leather for the grids. For the body of the flashlight sleeve, I used the Mold-Tech-10800. For the light bulb I used light linear soft and IES Spot Light 15 degrees. And for the bottom of the flashlight sleeve, I used marble. The reason I used these materials is because they can create the contrast between color and texture for the metal and leather.

Monday, April 7, 2014

Rafael Kader : Week 2 Flashlight


 Ghosted View

 Rendered Image 1

Rendered Image 2


I started this flashlight from the idea of create something futuristic and clean. After experiment the command F10 to edit the control points and also use curves to create pipes, I realized that I could draw something that looks like veins and arteries. From that concept, I did the red details and the bracket.

To create the flashlight's body, I mainly used commands such as F10 to edit the control points, revolve to create the solid, mirror, and project to project curves into the solid to create the superficial details that compose the grip area. To construct the bracket, I created a curve using interpolate points and made a pipe from it. After, I used Scale 3-D and Array Polar to create the additional details.

For the materials, first I chose a soft grey plastic for the body to be light and keep the idea of futuristic and clean. Also, to create a good color contrast and to give a brightness effect the red acessories are metallic.

Shapeways


UPDATE: 3d Printed model pictures.

 Photo on 1
 Photo on 2
Photo off 1

Katharina Fuetterer Week 2: Flashlight

Light On
Light Off

Back View


Rhino Ghosted Image

     The concept of my flashlight is primarily a sleek looking design. I wanted to create an accordion look to the top half of the flashlight to make it seem as if it can be extended. The center-bottom area was left blank in order for the palm of the hand to have a comfortable grasp.

     I used several commands to create this flashlight mainly focusing on rotate, array polar, copy, booleandifference, curveboolean, filletcurve, and filletedge. The entire design was based on the idea of revolving a curve to create a solid object by using the command revolve.

     To finalize my design in keyshot I used three materials. The first material is a chrome black for the sleeve of the flashlight to create a stainless steel look and feel. The second material is a metallic paint in the color deep red for the bottom detail. The third material is also a metallic paint in the color light olive for the circle detail.
3D Printed

Wednesday, October 2, 2013

Matthew Grello: week 2 Duck

Ghosted
render "duck-form"

render "gun-form"

render profile

render two model
For my duck model, I chose to make a transforming ducky nerf gun. I came up with the idea when I was looking at pictures of ducks and I thought to myself, "if those ducks were able to shoot nerf darts out of their donks, I would be amused." For the modeling of my creation, I used the tutorial as a frame, than used the tools and commands it advised. I also used the boolean tool for the darts. In keyshot, I textured my model using hard plastics for the body, aluminum for the seam, and "Soft touch" for the dart body while using a soft plastic for the head of the dart. The eyes are also a hard, shiny plastic. I primarily used plastic for my model because it is a cheap material that can easily be injection molded, and metal for the pivot point for durability.

Tuesday, October 1, 2013

Christian McKenzie - Week 2: Duck tutorial


I took inspiration for this project from a designer named Mr. Clement (http://www.mrclement.com/gallery/sculpture/). The perfume bottles. After watching the Rhino thread making tutorial I thought if I put the threads in the center of the models head it would look like a brain and that the model would be an interesting shape for a bottle.

Rhino Techniques and tools used:
  1.  Rebuild (To add more AV curves and controls point to the solids)
  2. Transform (set xyz coordinates (to flatten the base and sides of the solids)
  3. Project
  4. split (to out the various sections)
  5. Offset surface (to generate the interior)
  6. orient on surface(for the wings and the eyes and curve on the helix)
  7. Helix (for the threads)
  8. rail sweep(for the dimension of the threads on the helix) 
  9. cap (to close poly surfaces into solids)
  10. 2d and 3d scale (to size the threads and insure the screw and cap were functional)
  11.  Blend surface (to merge the solids into poly surfaces)
Materials:

  1. Clear Rough textured plastic: wings, legs, eyes and cap. ( I wanted to have some various textures as I intended the majority of the surface to be translucent.
  2. Clear shiny: head and body
  3. leather: for the grip( the texture next to the shiny and rough plastic is a nice contrast and breaks up the  dominantly translucent surfaces)
  4. Shiny clouded plastic: beak and threads ( keeps a nice continuity to the surface rather than an abrupt opaque solid paint) 
  5. Wavy Glass: fluid (   it looks like a convincing fluid I increased the scale of the wave texture.)
Enjoy,
Christian McKenzie


Monday, September 30, 2013

Maximiliano Acevedo wee 2: Duck


For this project I decided to create more that just a rubber duck. My idea was to create something multifunctional but at the same time fun. Normally we use a rubber duck in the tub, so I created a product that is used as a toothbrush holder and also a toy. With this product brushing the teeth of children will be easier and fun!.

Maximiliano Acevedo week 2: flashlight


I decided to do a golf ball flashlight, I was inspired by my biggest hobby which is golf. I thought this is a great idea for golfers that need a flashlight. It combines their passion for golf and the use of a flashlight. The body of the flashlight it is a tee and the ball its the pipe where the light goes through. I made a base simulating grass in the golf course, this also works for the flashlight to stand up and use it as a little night lamp.

Sunday, September 29, 2013

Avi Spratt Week 2: Flashlight

My dad taught me to scuba dive when I was 15, I started out with all of his old gear, but have progressively replaced most of it, save for a dive light. Its a huge clunky, heavy, incandescent light that isn't very bright. I don't use it often, its not even very useful on night dives.  I wanted to create something that would be small enough to store inside a BC, that wouldn't get in the way, or weigh much. I used the helix tool to create the screw, and took advantages of transparent materials to show the threading.


Ghosted


Ghosted with layers
Rendered with light emission


Flashlight off. disassembled

Flashlight on. assembled