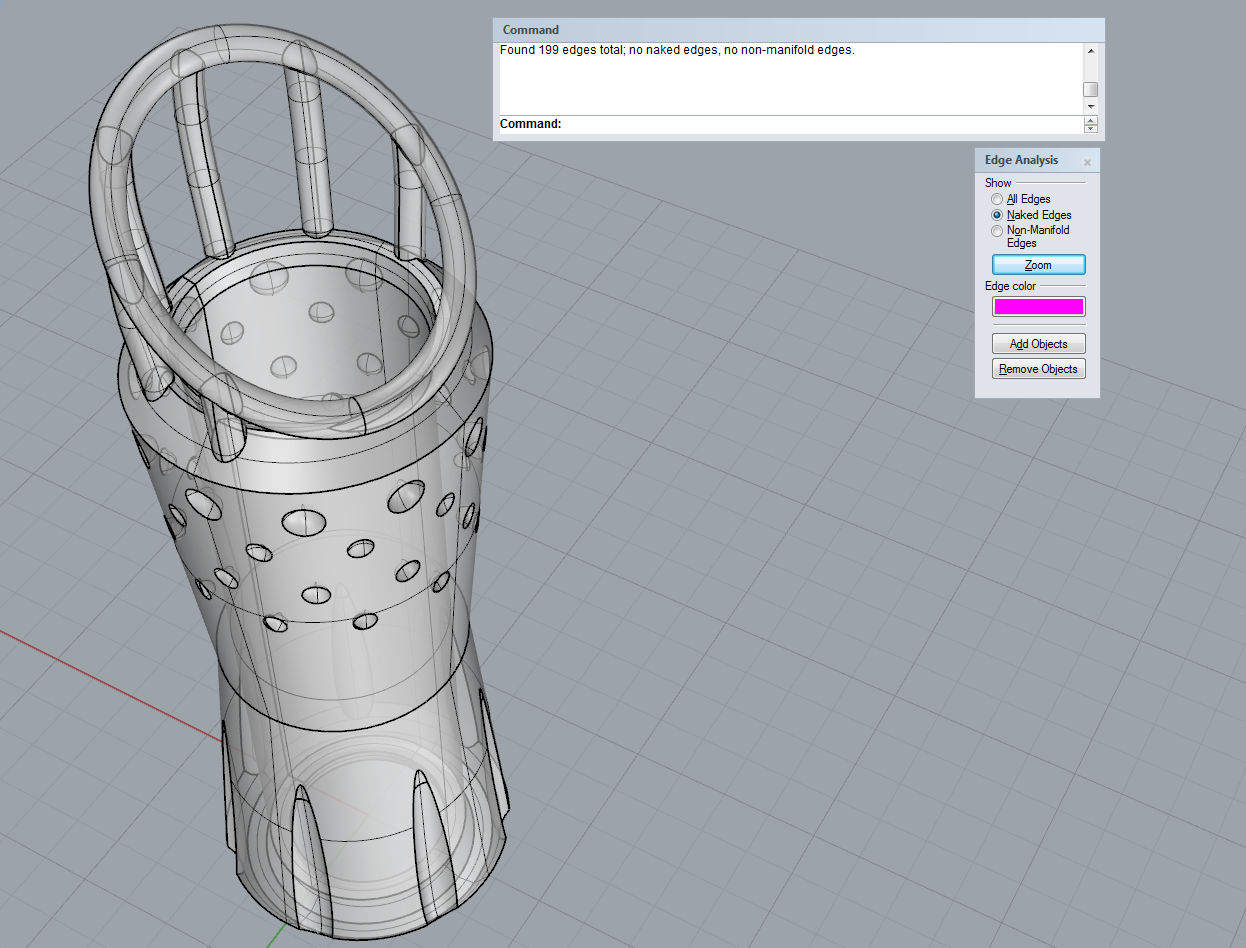
First Attempt
Ghosted View of Orbitus (Final)
Profile View
Elevated 3/4 View
My goal for this sleeve was to see how far I could push the profile without breaking the bounding lines. Initially I planed on making a sort of bird's nest around the light, but I ran into difficulty creating solid forms without naked edges. That is when I moved to Orbitus. It retains elements of the original, but with more achievable forms. I am pleased with the result of the new sleeve, but given the choice I will try to ready the previous model for printing.
I used the Revolve tool to get the sleeve shape from the original curve drawing with chamfered edges. The Boolean Difference too came in hand to get all the cutouts. For the top ring, I revolved the boundary box for the sleeve and projected a curve across it, and finally used the Pipe command. I drew curves and used the Array Polar command to get the columns and then piped them as well. It took a while to go in and trim all the intersections to join them, (I realized too late that the Boolean Union tool negates all these superfluous steps).
The materials for the sleeve are all what you could get from 3D printing, with he exception of the transparent top portion. I would like that to be either a transparent or translucent plastic, but for illustrative purposes I have used glass in the rendering. The idea is that the light emitting from the flashlight will catch in the transparent/translucent plastic and illuminate it, giving a really interesting effect. I am a huge fan of minimalism, and so Black, White and Transparent fit in nicely to that aesthetic. I enjoyed the process and can easily see myself doing it again.


No comments:
Post a Comment
Note: Only a member of this blog may post a comment.