Showing posts with label keyshot. Show all posts

Thursday, May 1, 2014

Ruan Basson Week 5: Hand Glass Sunglasses


Ghosted Image Hand Glass

Bottom Front 3/4 Hand Glass

POV Hand Glass

Bottom Rear 3/4 Hand Glass


Jennifer Lopez in Hand Glass

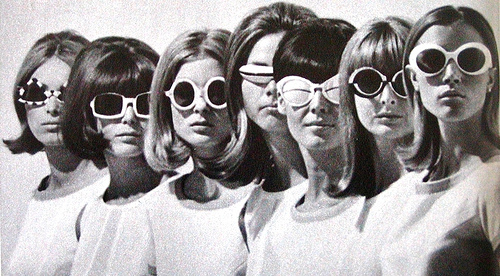
My inspiration for these sunglasses lie in many places.  The lens shape from none other than Tom Ford.  I like the look of odd sunglasses, so I took inspiration from Chanel and Prada for the shape.  The time period I took design cues from would definitely be the 1960s.  I decided to make them a pair of hands that seem like they are presenting something precious for the wearer to look through.  I enjoyed the designing process, since these sunglasses are not what you typically see walking down the street.

I used several basic modeling techniques to get the final form.  For the lens I simply built off of a circle.  I made the loft curves in the side and top windows and lofted the dome shape.  The frames are an extruded polycurve that I split in half and then mirrored before rejoining to make them symmetrical.  All the edges where either chamfered or filleted.  I then used offset surface with solid selected to finish the one and mirror it to copy it.  The hands are a combination of piped curves and booleaned ellipsoids.  I would draw the curve in side view and then transform them to look like I wanted.  I then piped them and filleted the fingertips.  The ear hooks are also an extruded polycurve.  I then used boolean union to join all the solids.

When I rendered these I chose to go the practical route.  I chose black plastic for the hands because I want them to look almost silhouette-esque.  I chose a stark contrast form the frame color for that sole reason, I wanted contrast to emphasize the look that the hands are "presenting" them for the wearer.  The lens are orange because that color is bright and fits with the 1960s palette.  I added J-Lo as a model to show scale and give a better impression of the final product.

Monday, October 7, 2013

Andrea Carriquiry - Week 3: Toy Hammer

Rendered Product


Ghosed Edge Analysis


For this assignment i decided to go back to my childhood, and i remembered how i loved building things when i was a kid. Sadly i was not a very strong kid, so using my dad's hammer was not possible for me. So i decided to make a hammer that a child could use that could be strong enough to hammer things, without giving them the chance to hurt themselves. I loved using the twist command to make the handle, i think that gives it a nice grip and also a more childish effect. For the materials i decided to use hard matte plastic so it would be strong enough not to break, but it wouldn't be strong enough to harm the kid. I wanted to use bright colors because it is meant for a kid and also the matte plastic so it would be more durable, and not very heavy.


Andrea Carriquiry - Week 3: Mouse

Rendered Product


Ghosted Edge Analysis


For this week's project i was inspired by the mouse i use which is Apple's Magic Mouse, in the sens of its very clean and minimalistic design. In my design i wanted to use a very similar curved surface making it more comfortable for the user, as well as more ergonomic, thus the shape i decided to make it. Since i like gaming, i decided to add two extra buttons on the sides, which are very helpful when playing video games. Also the scroll bar, which is the dent on the top is similar to a track pad, so instead of having a scroll wheel you just pass your finger over it and it recognizes the movement. The two black shapes on the bottom are to make the usage and the movement of the mouse on the mouse pad easier. I used a lot of curves and extrusions for this model, as well as the bending command to make it more ergonomic. I decided to make it plastic, so this way it would be cheaper, as well as lighter and thus transportable, this is also why i made it very skinny, so it would be easier to carry it around, this mouse is wireless and connects to computers through Bluetooth.

Monday, September 30, 2013

Oliver Filley: Week 2 Duck

 Ghosted

Keyshot Render 1

 Keyshot Render 2

 Keyshot Render section with water

Keyshot render in environment

For the transformation of the duck I chose to connect the duck with its habitat in the water. Rather than creating just a toy rubber duck I decided to have the duck house water and act as a tea kettle. To create the duck I used boolean difference to hallow out the middle of the kettle and the spout. I also used a lot of rebuilding of the forms to add points to drag and modify the objects to make all the parts of the kettle. In Keyshot I used a metal for the for the body and the spout of the as it would be in contact with boiling water. I made the stopper ball and handle rubber coated so that it can be handled even after being in contact with heat.
Background image

OliverFilley Fall2013 elds205 Duck

Oliver Filley: Week 2 Flashlight

 Ghosted

 Keyshot Render 1
Keyshot Render 2

3d Printed Flashlight

3d Printed Light On

3d Printed Light On


For the flashlight I set out to create a simplistic shell that could provide a housing for a dull design. I wanted something fun and playful and found inspiration in Crayola Crayons. I selected this theme because it allowed for a wide variety of color options for personalization. To create the flashlight I used techniques such as Boolean difference and polar array to create a hollow shell with some texture in it. In Keyshot I used a hard plastic for the colored parts of the casing because it was a cheap and durable option and offered many different colors. For the grip I used a neutral soft grip material for comfort. I also included a series of rubber balls on the bottom inside to provide a gripping for the inserted flashlight.

OliverFilley fall2013 elds205 flashlight

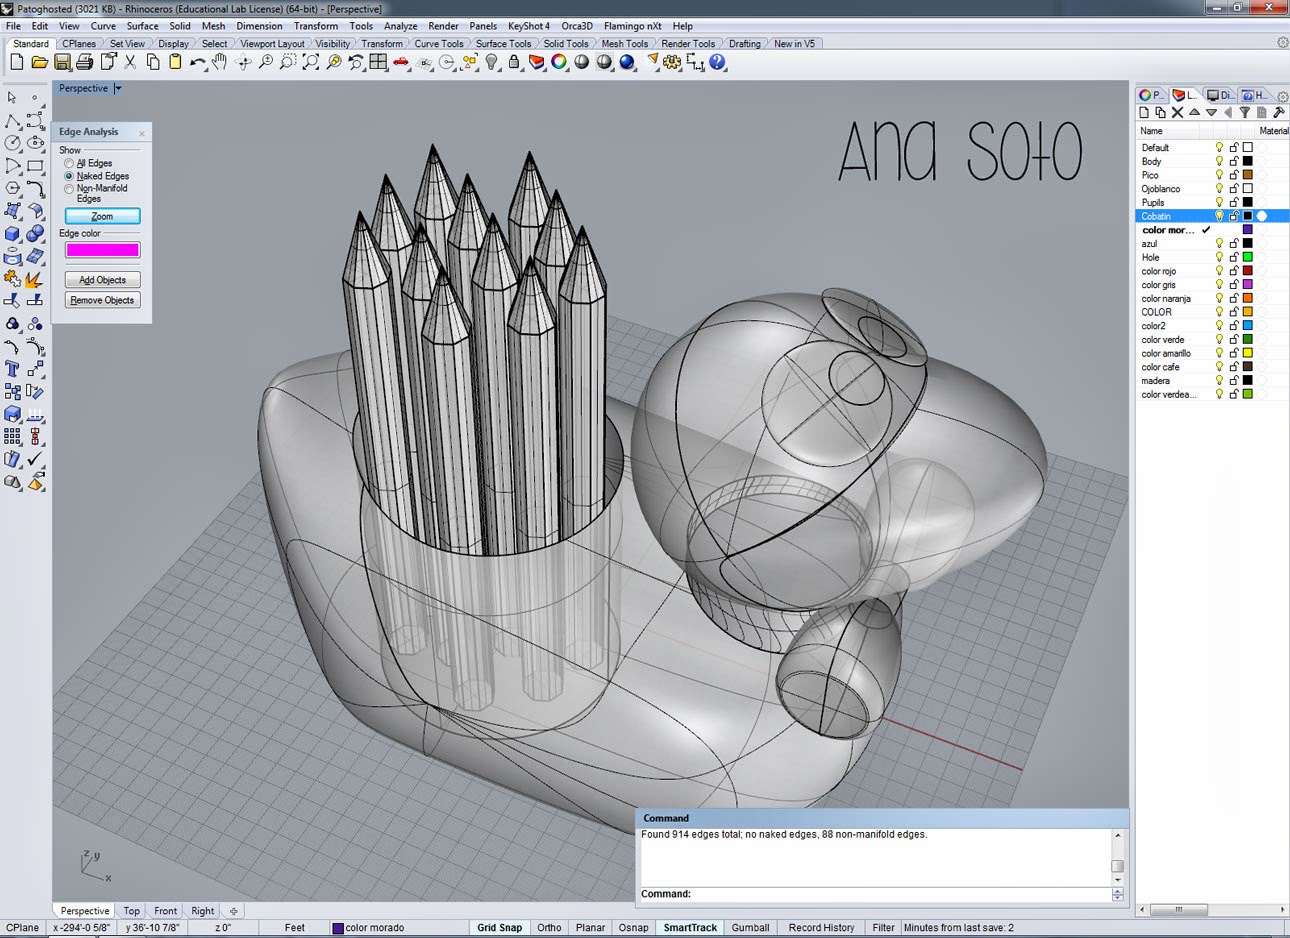
Ana Soto-Week 2: Surfacing 101


Pato: 


Ghosted 

 Render 1
 Render 2
Since the beginning I wanted to conserve the childish spirit of the rubber duck. I did the tutorial and based my design on it. Some of the techniques I used was revolve to create the bow tie. I decided to use wood, because it is a simple natural design, that matches the color pencils.

Wednesday, September 25, 2013

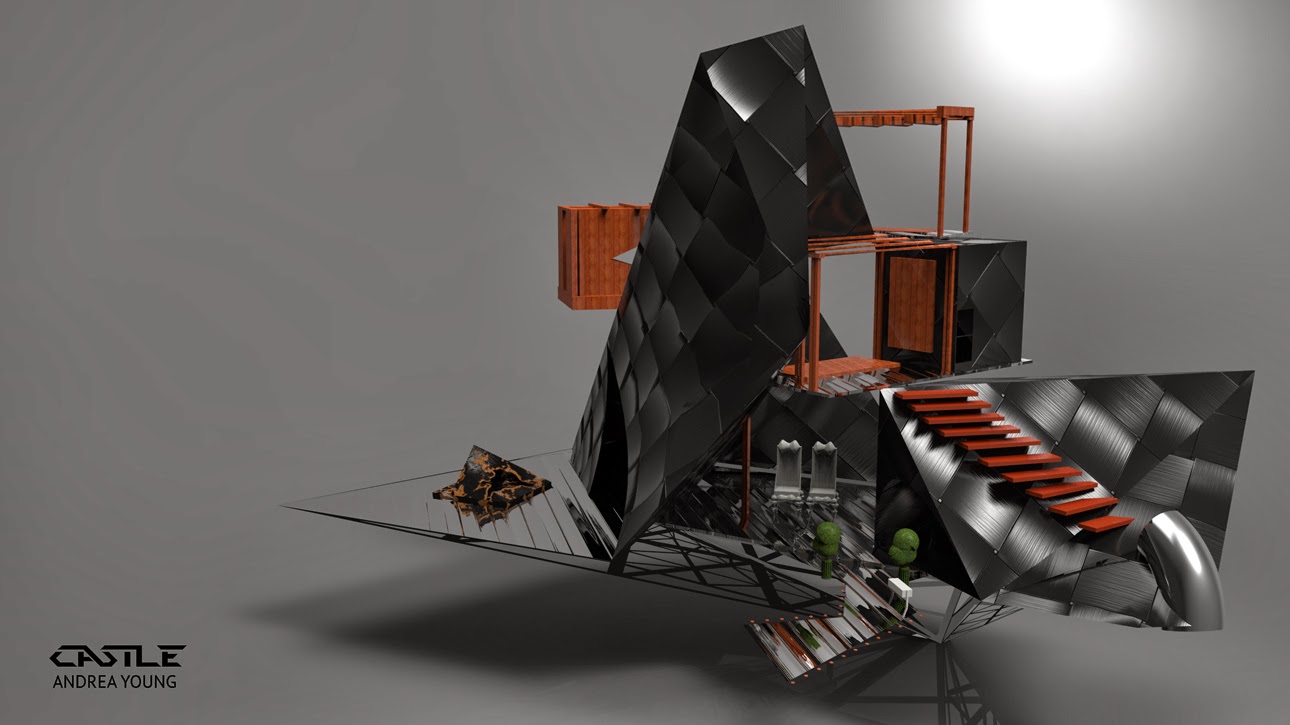
Andrea Young: Week 1 Castle rendered

Full Rendered View

Pedestrian View

Here are rendered images of the castle I created using Keyshot

Thursday, August 29, 2013

Karla Ronaszegi: Shoe Week 10

 Amber LaQuox is dedicated to my best friend. A shout out to my professor who also helped me with the idea. It's a black leather boot with white leather trimmings going around it and going down the heel. The heel is all black hard plastic. In order to accomplish this shape I used lots of sweep2. I created the contour with lines. I started with the base of the shoe and worked my way up. I used piping to make my bottom fillets and to make the white lines.  In my process I checked for naked edges every step to make sure I was making a clean design. These are techno shoes, imagine a black lighted room with these on.


Vitaliy Pankov: Week 10 Shoe

This has been the most exciting, yet the most tedious project since the beginning of the class. I enjoyed working on it and I wish I had more time to perfect it. My main goal was to keep all the geometry clean and smooth. I started out with a side-view sketch which I then imported to Rhino using PictureFrame command. Once it was there, I began constructing the main shape. It took some time to make it look exactly how I wanted. Once it was done, I started building the sole. Command such as "Curve From Two Views" was extremely useful. it helped me construct all major surfaces. Loft command was used to to construct shoe laces. Overall, I am satisfied with the result because it ended up looking very similar to my initial sketch. I would have definitely done more to this project if I had more time.


Wednesday, August 28, 2013

Nicole Corlett : Week 10 USB Drive

Here is my USB Drive.  I used fillets and offset surface for most of it.  Some other commands I used were split and sweep.
 Ghosted
 Render 1
Render 2

Monday, August 26, 2013

Nicole Corlett : Week 10 Shoes

I decided to do 3 different heal shoes, all of which I plan to continue to make have no naked edges, however, thus far I have used both sweep 1 and 2, patch, pipe, join edge, project, make 2d, rebuild, along with a plethora of other commands.  I ended up with a low top type heal, a high top type heal, and a closed heal shoe.  I believe the lace in the shoe was the most fun part of this all.
 Ghosted 1
 Ghosted 2
 Ghosted 3
 Render 1
Render 2
Render 3
This is my final design with NO naked edges. Using offset surface command and making sure it was closed made my life allot easier! Here we have a heal with elastic as bands so any size foot can fit into the shoe comfortably. :)
Ghosted FINAL
Render 1 FINAL
Render 2 FINAL