Showing posts with label flashlight. Show all posts

Thursday, April 10, 2014

Shameka Bowne-Heskey: Week 2: Flashlight


Gosted Image

Performance Level, frontal

Perspective


I wanted to create an overall sleek design so I kept the intricacy to a minimum. Luxury items were the inspiration for my flashlight. I tried to imagine how I would customize it to match my taste, and the resulting product proves to be an accurate depiction.


This flashlight was created using one curve, which was then revolved to create a solid. The three rings on either end of the flashlight are grips, which were made by using the torus command. Lastly, I added my initials in a monogram as an element of personalization. After choosing the text, I used the "flow along surface" and "bend" commands to get the letters to form around the flashlight.

The head of this flashlight is made from a champagne-colored axalta material. The body is made from a clear, hard plastic. The grips are made from black rubber. Last, but not least, the monogram is made from twenty-four karat solid gold, with a matte finish.


Wednesday, April 9, 2014

Meghan Preiss : Week 2 : Flashlight


      For my flashlight I wanted something smooth. Creating rounded edges and curves throughout. I wanted it to be able to appeal to a mass of ages. Creating extruding circles and bands to keep it young and childish yet keeping it simple and sleek to keep it classy looking.

     I used an array of modeling techniques. I mostly used curveboolean or boolean union. I extruded surfaces and projected pipes. I used the rotate tool to create the four evenly spaced spheres. In addition, I filleted most of my edges to keep the smoothness.

     I chose to create my flashlight cases out of wood to make them look more elegant. I thought of creating them in gold but I then thought that would be to gaudy. I chose different paint colors to contrast the wood.

Tuesday, April 8, 2014

Ruan Basson: Week 2 Flashlight

First Attempt
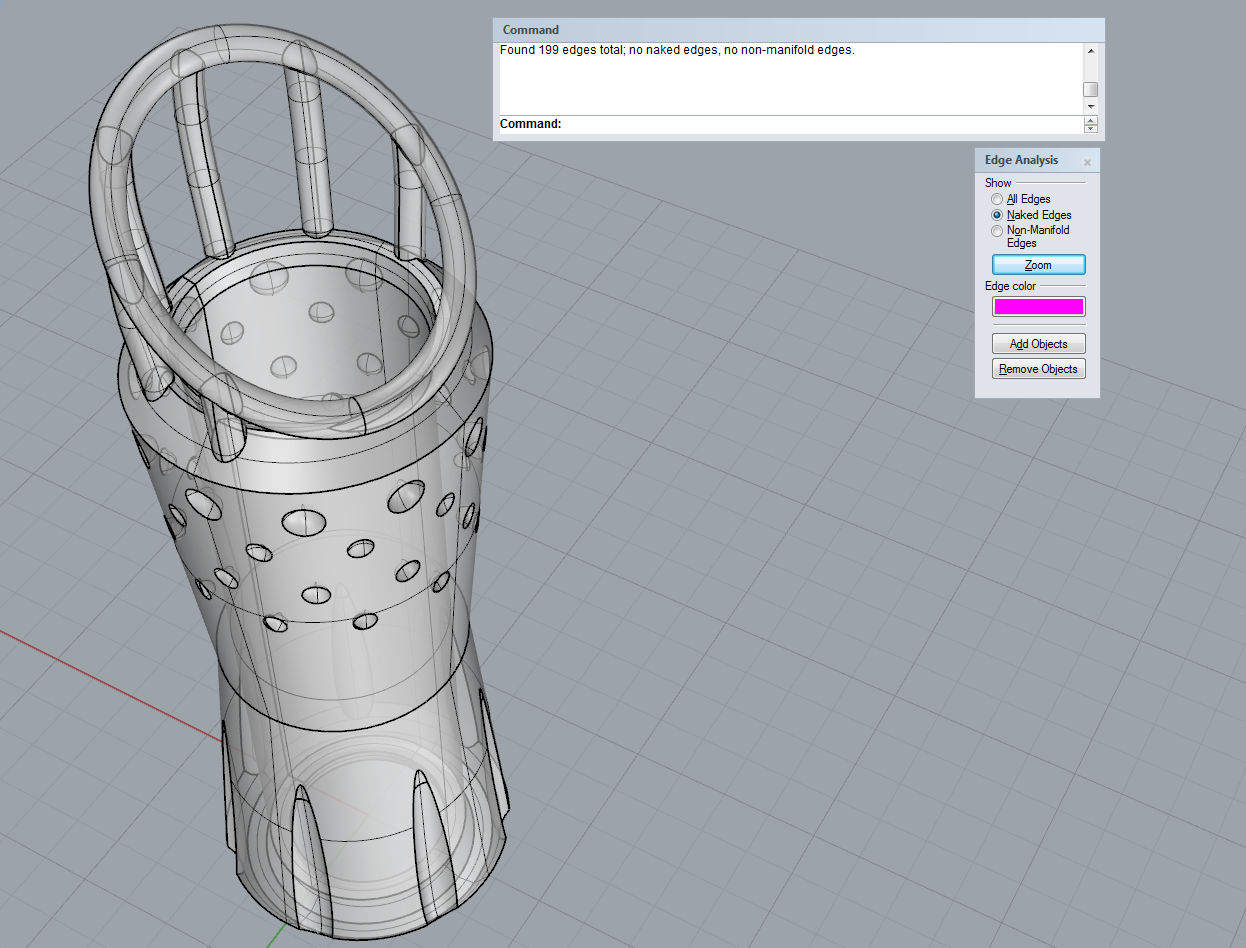
Ghosted View of Orbitus (Final)

Profile View

Elevated 3/4 View

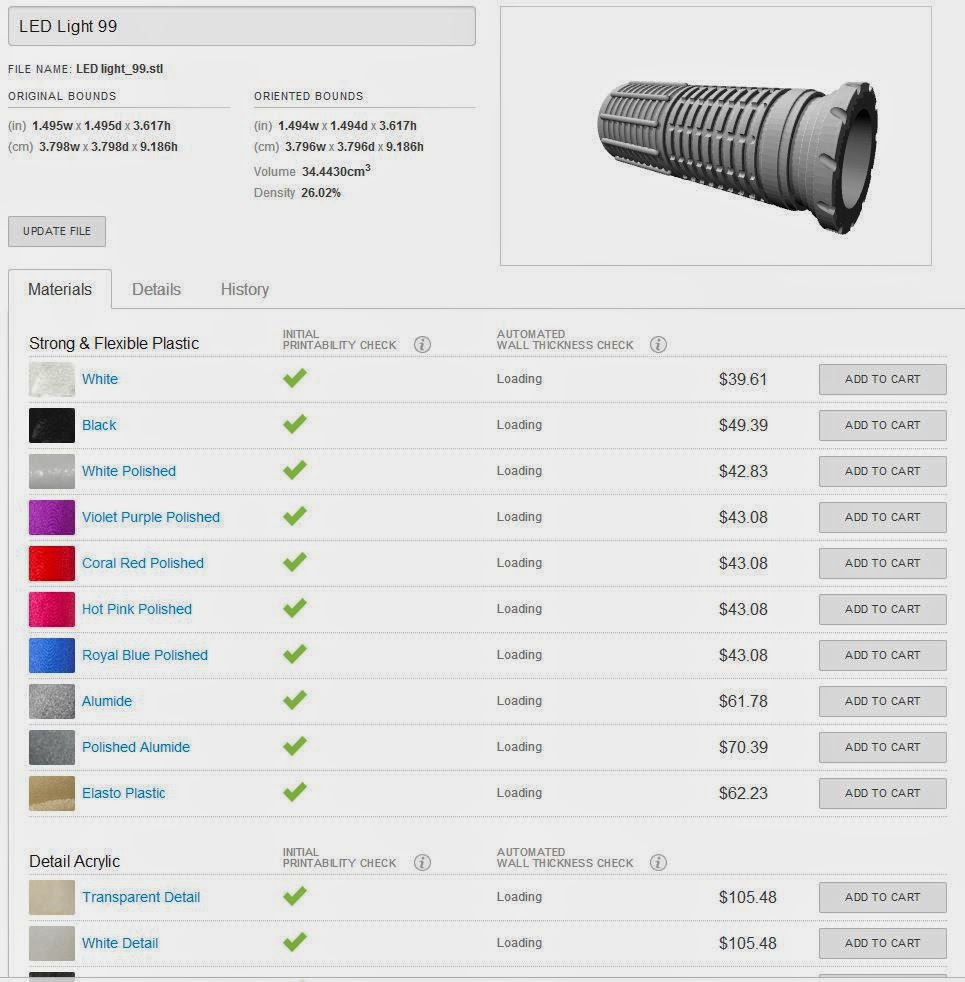
Shapeways Profile

My goal for this sleeve was to see how far I could push the profile without breaking the bounding lines.  Initially I planed on making a sort of bird's nest around the light, but I ran into difficulty creating solid forms without naked edges.  That is when I moved to Orbitus.  It retains elements of the original, but with more achievable forms.  I am pleased with the result of the new sleeve, but given the choice I will try to ready the previous model for printing.

I used the Revolve tool to get the sleeve shape from the original curve drawing with chamfered edges.  The Boolean Difference too came in hand to get all the cutouts.  For the top ring, I revolved the boundary box for the sleeve and projected a curve across it, and finally used the Pipe command.  I drew curves and used the Array Polar command to get the columns and then piped them as well.  It took a while to go in and trim all the intersections to join them, (I realized too late that the Boolean Union tool negates all these superfluous steps).  

The materials for the sleeve are all what you could get from 3D printing, with he exception of the transparent top portion.  I would like that to be either a transparent or translucent plastic, but for illustrative purposes I have used glass in the rendering.  The idea is that the light emitting from the flashlight will catch in the transparent/translucent plastic and illuminate it, giving a really interesting effect.  I am a huge fan of minimalism, and so Black, White and Transparent fit in nicely to that aesthetic.  I enjoyed the process and can easily see myself doing it again.

Savannah Sears Week 2: Flashlight

 Ghosted
 Rendered


In my flashlight design, I wanted to create something simple and clean. I did not want to go overboard with details or make it too complex to the point where you would not be sure it was a flashlight. I wanted to design something basic that would appeal to the average consumer.

In designing my flashlight, I mostly kept the original curve and then cut into it and moved control points to shape it. I used a lot of array polar for the details as well as project. I also used boolean difference for the cutouts and fillet and chamfer for the edges.

When I rendered my flashlight, I used plastic and paint. The body is a shiny cloudy plastic and the details are a metallic blue paint. I chose these because I feel that they would appeal to a wide range of people and they kept with the theme of simplicity I was aiming for. I also used light for the LEDs.

Alexia Dutriz:Week 2: Flashlight

 Ghosted Image
 Render 1
Render 2

Shapeways

light off
light on

The inspiration for my flashlight was a spring. I like how it looks like the spring is being pressed down and it is about to pop up. 
The tools I used for my flashlight were "curveboolean" and "FilletEges".
The material used for my flashlight was steel. I wanted it to have an even clean look and it goes with my castle model.

Joel Salomonsson: Week 2 LED Flashlight


Render 1

Render 2

Render 3

Render 4

Ghosted Image

Shapeways


The inspiration for my design is the lightsabers in Star Wars. I thought that it would play nice with the LED flash light. 

I used the curve template that was available and started modifying the curve to the way I wanted it. I used curves and curveBoolean to get the main shape as well as the fillet tool to get rid of the sharp edges. when I was satisfied with the curve i used revolve to get the finished polysurface of the flashlight. I then added Pipes with rounded caps to the bottom of the flashlight and the copied them and moved the a little bit above and used BooleanDifference to get an interesting contrast. On the top I used the same BooleanDifference technique but I rotated the Pipes in different directions to get more of an interesting shape. I then added a light switch to the side to add to the lightsaber design. 

I chosed to have gold and silver as materials because if you have a lightsaber you do not want it to look cheep. You want to make a statement when you slice other peoples arms off. 


Xiaoyang Chen Week2 Flashlight


For the design of my flashlight sleeve, I wanted it to be both addition and subtraction. Also, I wanted the surface to be both rounded and flat. At the same time, I wanted it to be ergonomics; so I tried to avoid the 90 degree angles.

For the addition and subtraction I used the BooleanUnion and BooleanDifference. For the rounded edges I used fillet commend. Also, I used arrayPolar to arrange the elements. The other commend I used were revolved, UseExtrusions and MatchSrf.


For the materials, I used Grey Leather for the grids. For the body of the flashlight sleeve, I used the Mold-Tech-10800. For the light bulb I used light linear soft and IES Spot Light 15 degrees. And for the bottom of the flashlight sleeve, I used marble. The reason I used these materials is because they can create the contrast between color and texture for the metal and leather.

Melissa Shuford: Week 2 Flashlight


Ghosted Image


Keyshot Rendering


Keyshot Rendering


 3D Printed Light Off


 3D Printed Light On


 3D Printed Light Off

For this design I was inspired by the idea of creating a grid-like texture somewhere on the flashlight. I decided to put it on the handle as the handle makes up the most of the flashlight. I then accented the slightly detailed handle with a center groove to break up the black and dots on both the top and bottom. I chose a rounded shape as it was an appealing design and lastly put the X's on the end for added accents.

For this project I used several curve tools, trim, sphere, booleanunion, booleandifference, curveboolean, rotate, array polar, arraylinear, and scale. I struggled with the program several times to actually be able to boolean pieces and learned some valuable hints for next time.

For the rendering I chose to put the body of the flashlight as jet-black, matte paint. I then decided the sphere accents would be done in metallic, sapphire-blue paint and metallic, ultra-violet paint. Then for the light source I chose the area light 100W and made the hue a pale blue,

Monday, April 7, 2014

Ellen Siu - Week 3 - Flashlight Project

Ghosted Image


KeyShot Render


    For this project, I just tried to modeling a general flash light under the guideline as well as bring into being professional based on its function, there have no concept actually.


     I learned lots of techniques in this week two project. I used Insert Edit Point to add points on a curve while I remodeled points in Sections. I used Array Polar to rotate and repeated the shape that I create for the topmost part then used Boolean2Objects to define the body as I want. Curve Boolean also an amazing command that helps a lots when I made the model’s body in Sections.


    Unfortunately, it’s too late when I discovered that the KeyShot installed in my PC is a low version, there are not many choice I can choose. In the end I chose Blue and orange to be the main color.