Showing posts with label Rhino. Show all posts

Thursday, May 29, 2014

Ellen Siu: Week 10-Rolleiflex camera


Ghosted Image in Rhino


Rendering 1
Rendering 2
Rendering 3

For this project, I based my design on a Rolleiflex camera, The camera is a twin lens reflex (TLR) cameras and it is my favorite model.
To create this camera on Rhino, first I created a rectangle and used lots of 'FilletEdge' and 'Boolean Union' to built the body of the model. I used also 'pipe' to create details.
For material, I choose glossy gold to line out the frame,and employed black leather to the body on each side, smoothly black plastic for the upper part. In rendering, I turn on the environment for produce the reflection of the glossy materials. 

Monday, May 26, 2014

Ellen Siu: Week 9_Chair Design

Ghosted Image in Rhino
Rendering 1
 Rendering2
 Rendering3
 Rendering4


My tubular chair design was based on the curves, I want to modeling a simplify, cool shape which would comfortable to sit in and create a chair that is unique, it is better if that is convenient to be stacked.

To create this chair on Rhino, I started out with a curve. I adjust its curvature and use lots of 'Pipe' to transformed the curve that looked more smoothly and awesome. I used also 'Offset' to built up a basic form for the back of the chair, and used 'Boolean Union' to constitute the main shape of my chair.

For the materials, I love to sitting on wooden chair, such as bamboo as it's a great material which can reduce the heat influence of human body to the chair. So I designed three chair style in this project. In the end, the red one is my favorite as it can assist the chair to be more outstanding; A smoothly glossy red and sliver steel.

Thursday, May 8, 2014

Simple Statement - Ruan Basson: Week 6 Ring

 Ghosted view

 Front 3/4

Rear 3/4

Close Up


For this project I wanted to make a ring that I eventually print in silver with Shapeways.  I plan on making it a mother's day gift for my mom.  The tanzanite in the center I bought a few weeks ago and I have also bought the 1mm accent diamonds.  When I do get to printing this in silver I will set those stones in the halo and basket setting.

I used a lot of solid building and filleting to get the finished product.  I also use project to extrude and trim the cutouts before I filleted them.  That is where my issues came in.  When I filleted the edges of the cutouts, I did not notice at first that there was a surface issue, so I could not fix it right away.  When I later noticed them and tried to go back to remove them, all methods I tried failed.  I plan on remodeling the top portion, as I have saved an earlier iteration of the model.  The stones I did not model myself, I had a friend in the CAD class for jewelry give me the prebuilt stone file her professor provided them, since the important portion of my model is the setting for the stone.  I needed to be as accurate as I could.

The material is sterling silver, since that is what I plan on printing it in this material eventually.  I like the look of silver, since it is a warmer looking metal than platinum or white gold.  The tanzanite resembles the one I have as closely as I could get it.  The diamonds are also almost exactly the way they look in real life.  I played with the material settings to achieve this, and I love the way the model turned out. 

Thursday, May 1, 2014

Ellen Siu: Week5 project Sunglasses

Drawing & Sketching

 Ghosted Image in Rhino
 Ghosted Image in Rhino


KeyShot Rendering 1
 KeyShot Rendering 2
KeyShot Rendering 3

For my sunglasses design, i was inspired by the transitional Chinese glasses but I am not create a similarity theme.  I tried to keep its particular perception and its character and have a combination with modern style design- the side of the glasses, using strange, clear line shape.

To create this sunglasses on Rhino, I started to develop the idea by free hand drawing, and make arrangement in Photoshop then used 'pictureframe' to import drawings into rhino in three sections, used extend curve to create a solid from a planar surface and used mirror to built up the glasses overall looks like. Also, I used lots of 'pipe', 'FilleEdge', 'Sweep2' and 'Trim', there are also an amazing command called ' Flow'.

For the materials, I choose glossy, silver to be the main medium, and also a smooth plastic decoration on each side.


Tuesday, April 22, 2014

Ruan Basson: Week 4 Detergent Bottle

 Ghosted view
 Birds Eye View
Ant View

I wanted to design a bottle that was beautiful.  Simple as that.  I want the user to be able to feel comfortable leaving it out in the open without feeling embarrassed or self conscious about the look of their product.  This was the idea behind the Haute Deto Bottle.  I kept lines minimal and purposeful.  They flowed with the form and gave a sensual aesthetic to the bottle as a whole.  Haute Deto is the perfect luxury detergent bottle.

I used the loft command over curves I drew to get the overall form.  I then used a series of curve projections to get the "sliced" cap, the body curves, and eventually to separate the lid from the body of the bottle.  I then used the Offset Surface command to get the clear indentation.  Sweep 2 took car of the concave curves.  There were some problems with this method because they made it difficult to fillet and made a few naked edges.  I used the Join Naked Edges Command to try and get rid of them, however there are still some small leftover edges in this region.  All methods that I am familiar with could not help me join the edges, as small as they all are  I then used the Offset Surface command to get the thickness of the bottle.  I tried to get liquid on the interior using boolean difference, but it somehow looks odd in the rendering.

I chose plastics as the material, to show what the bottle might actually look like after manufacturing.  I like the minimal color scheme of black and transparent as they will fit with any household decor and still stand out beautifully.  The liquid inside is just a painted color, but does not show through the plastic section very well

Tuesday, April 15, 2014

Mickey Mouse - Emily O'Brien: Week 3


Ghosted Image
Render One
Birdseye View
Back View

For this project I wanted to make my mouse child friendly. Kids these days can pick up on technology faster than most generation, I chose Mickey Mouse because almost all kids I know love Mickey and Minnie. 
I used the cylinder and Boolean Difference tools to create the mouse ears. I added game controllers to the ears because most of the time when kids are using the computer its for games, this gives them an additional controller to play rather than just a mouse.  For the eyes I projected an oval onto the mouse itself, used the pipe tool to create an indent and then added an extruded curve. The left and right eyes are the left and right click buttons. For the nose I took a solid oval object and the Boolean Difference tool to place it in the mouse. In the middle of the mouses' nose I added a scroll key. I used the solid cylinder object for the general shape, then used the array polar tool with 11 extruded rectangles to create the notches in the scroll. I added the smile for detail by using a polyline curve and the pipe tool
For the materials in this Mickey Mouse, I used a variety of clear and cloudy plastics in black, white and shades of black. I chose plastic because it gets dirty less (from kids fingerprints) and most kids toys are in a plastic material due to the fact that they are inexpensive to replace if broken and are fun for kids to play with.

Thursday, April 10, 2014

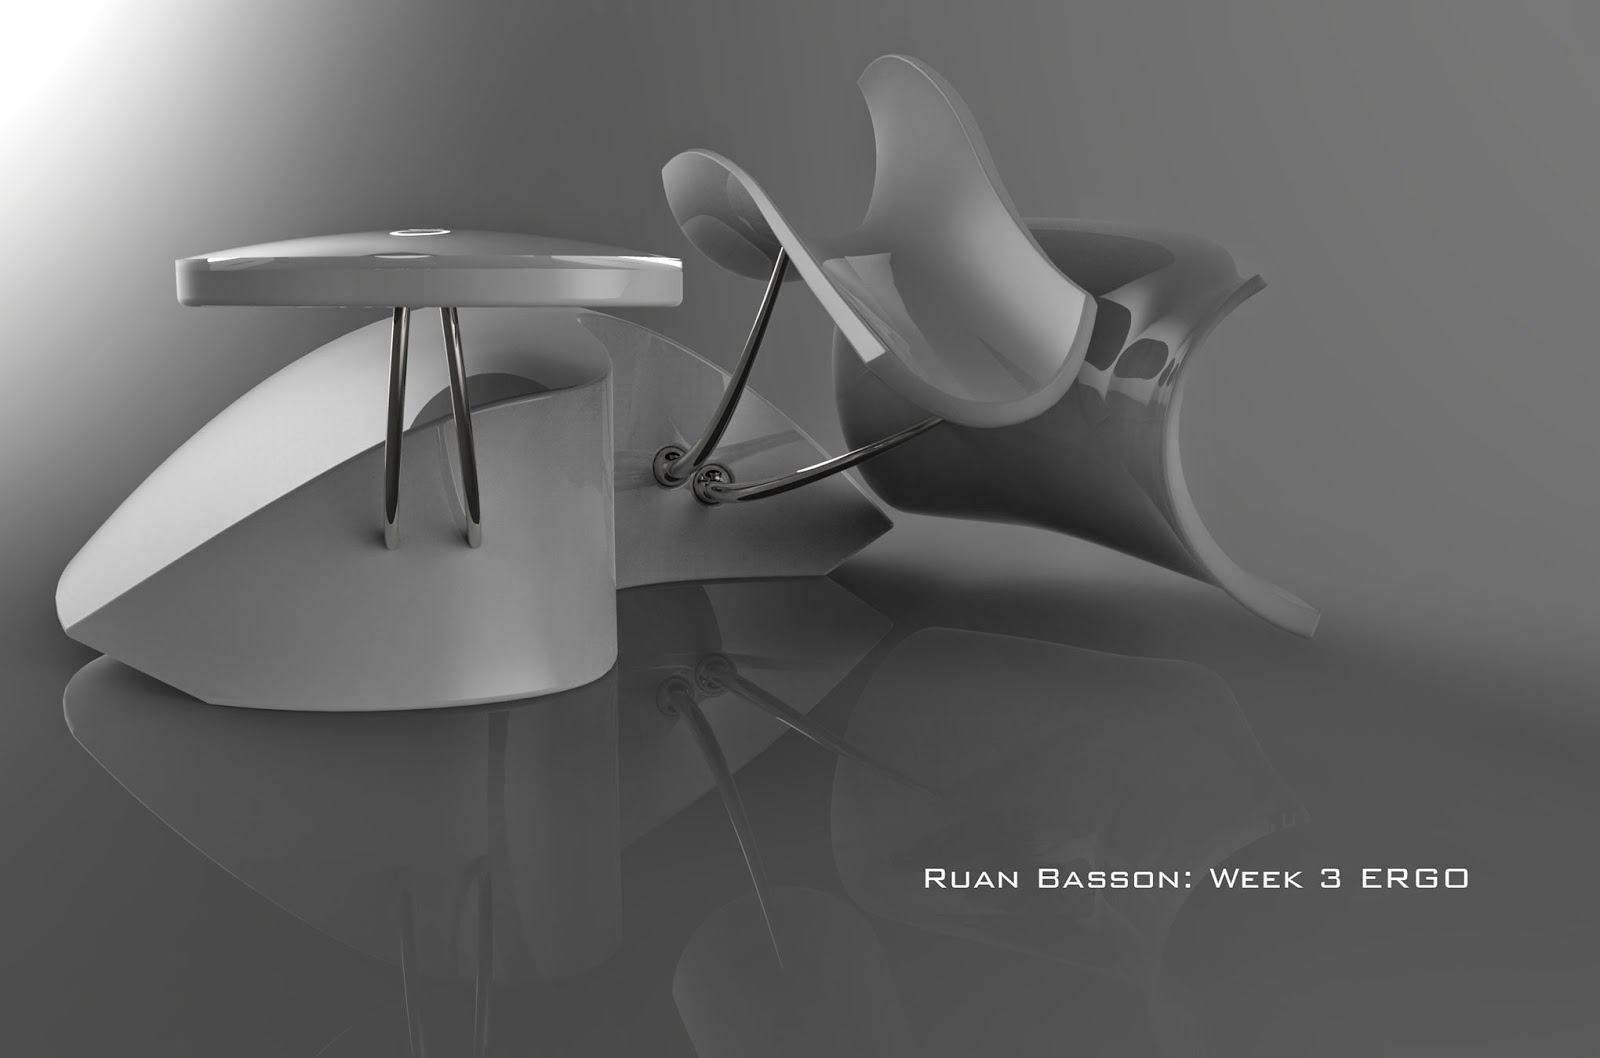
Ruan Basson: Week 3 ERGO

Ghosted

Elevated 3/4

Elevated 3/4 (opposite)

Ant View 3/4

The inspiration for this mouse lies in ergonomics.  I used this keyboard as a jumping board to figure the function of the mouse and how I wanted the user to interact with it.  I also wanted to keep a sleek and sinuous form while maintaining my minimalist aesthetic.  The pointer finger and thumb rests are actually the left and right mouse buttons.  To click one simply pushes down on the rest.  The elevated pad with the lighted rings is a capacitive touch screen to scroll and pan with the middle finger.  This rest is stationary and does not move.  To click one would simply tap twice and hold their finger on the pad the second time. I really enjoyed modeling this mouse.  

I used a lot of piping for the forms.  The forefinger and thumb are piped, then I projected a curve to cut them, scaled and copied the form and used Sweep2 to connect them (after making connecting segments).  The body was done the same way as in class, but I projected a curve to cut the shape to its final form.  The only edges I could not figure out how to fillet were the ones at the rear of the forefinger and thumb rests.

The materials I used were white plastic, titanium, and glass for the capacitive touch pad.  The forefinger and thumb rests are a soft plastic to add comfort.  I felt that the materials should be close to what they would be if the product was actually produced.  I feel this would also make it more affordable too. 

Tuesday, April 8, 2014

Joel Salomonsson: Week 2 LED Flashlight


Render 1

Render 2

Render 3

Render 4

Ghosted Image

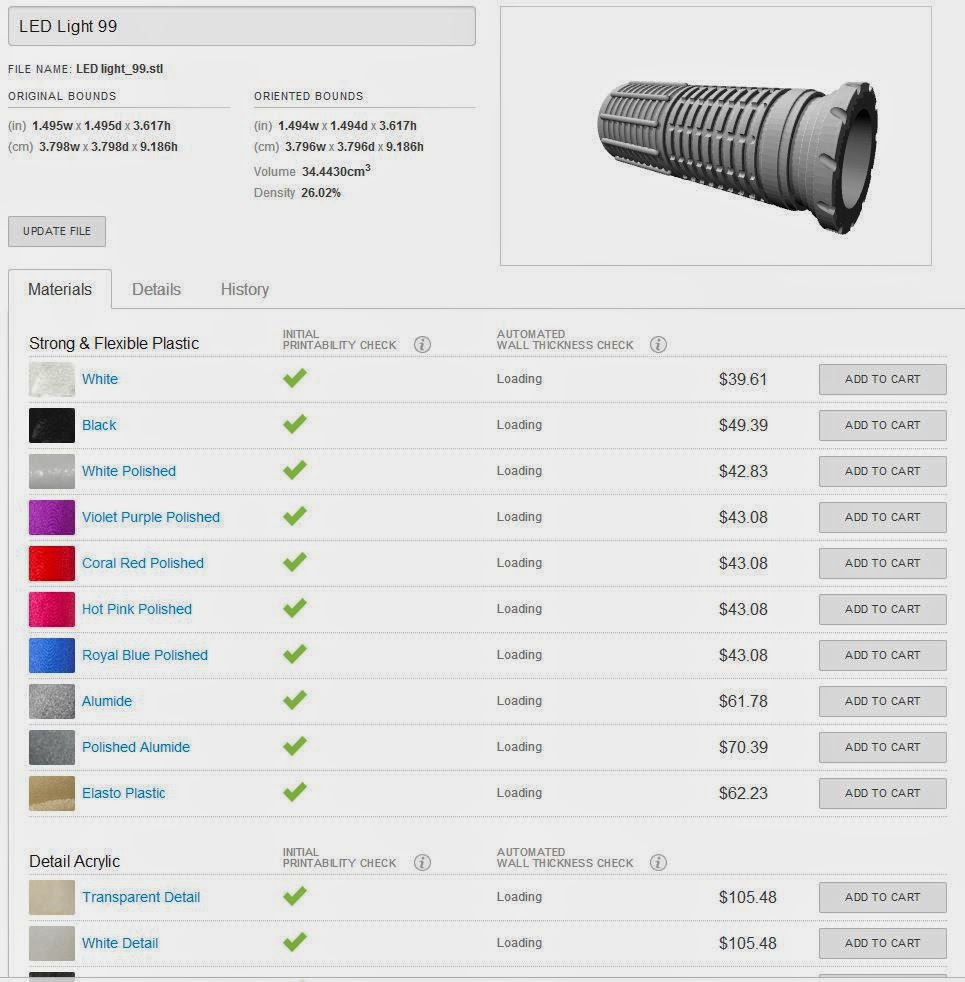
Shapeways


The inspiration for my design is the lightsabers in Star Wars. I thought that it would play nice with the LED flash light. 

I used the curve template that was available and started modifying the curve to the way I wanted it. I used curves and curveBoolean to get the main shape as well as the fillet tool to get rid of the sharp edges. when I was satisfied with the curve i used revolve to get the finished polysurface of the flashlight. I then added Pipes with rounded caps to the bottom of the flashlight and the copied them and moved the a little bit above and used BooleanDifference to get an interesting contrast. On the top I used the same BooleanDifference technique but I rotated the Pipes in different directions to get more of an interesting shape. I then added a light switch to the side to add to the lightsaber design. 

I chosed to have gold and silver as materials because if you have a lightsaber you do not want it to look cheep. You want to make a statement when you slice other peoples arms off. 


Monday, April 7, 2014

Parker Williams: Week 2: Flashlight


Ghosted Black Image


Front View


Rear View


 Introducing the K-Dub X 7 flashlight and taser in one. My dad was inspired by my dads insane collection of slick black tactical gear including machine guns, flashlights, and knifes. I had the idea to give it a unique tactical carbon fiber look with polished steel grips and spikes with a luminous red LED light inside. This weapon can be used one of several ways. It has side spikes and front spikes for stabbing, high powered LED light for stunning an enemy, and a 500,000 watt stun gun that runs electricity through the front end spikes.

 I started with two cylinders which I overlapped and did a Boolean difference on to create my one inch hole to tightly fit my flashlight down into. Next I used F10 to pull together the end to securely hold the light in without it falling out and hit F11 to escape the command. The tunnels around the edge to create the grip were created using the pipe command and using 360 to make it spin around the center snap to make it complete. To spin it around, I used ArrayPollar which was commonly used in this entire piece. The spikes were the easiest once I set them and Arrayed it, but because I didn't center everything properly on 0,0 I had to mess with a lot of different objects.

The spikes are just extruded pyramid shapes that I did a array polar on to perfectly make 4 symmetrical spike,m in two rows, at a 360 degree multiply to create all 8 on the side and same for the front, just with a few more smaller spikes. This project was really interesting because with the castle, it was all rectangles for the most part, and this whole project consisted of mainly cylinders. I really enjoyed it and glad I got to learn how to design this tactical self defense killing machine.


Tuesday, April 1, 2014

Ruan Basson: Week 1 Castle

 Pedestrian View
Bird's Eye View
Ghosted View

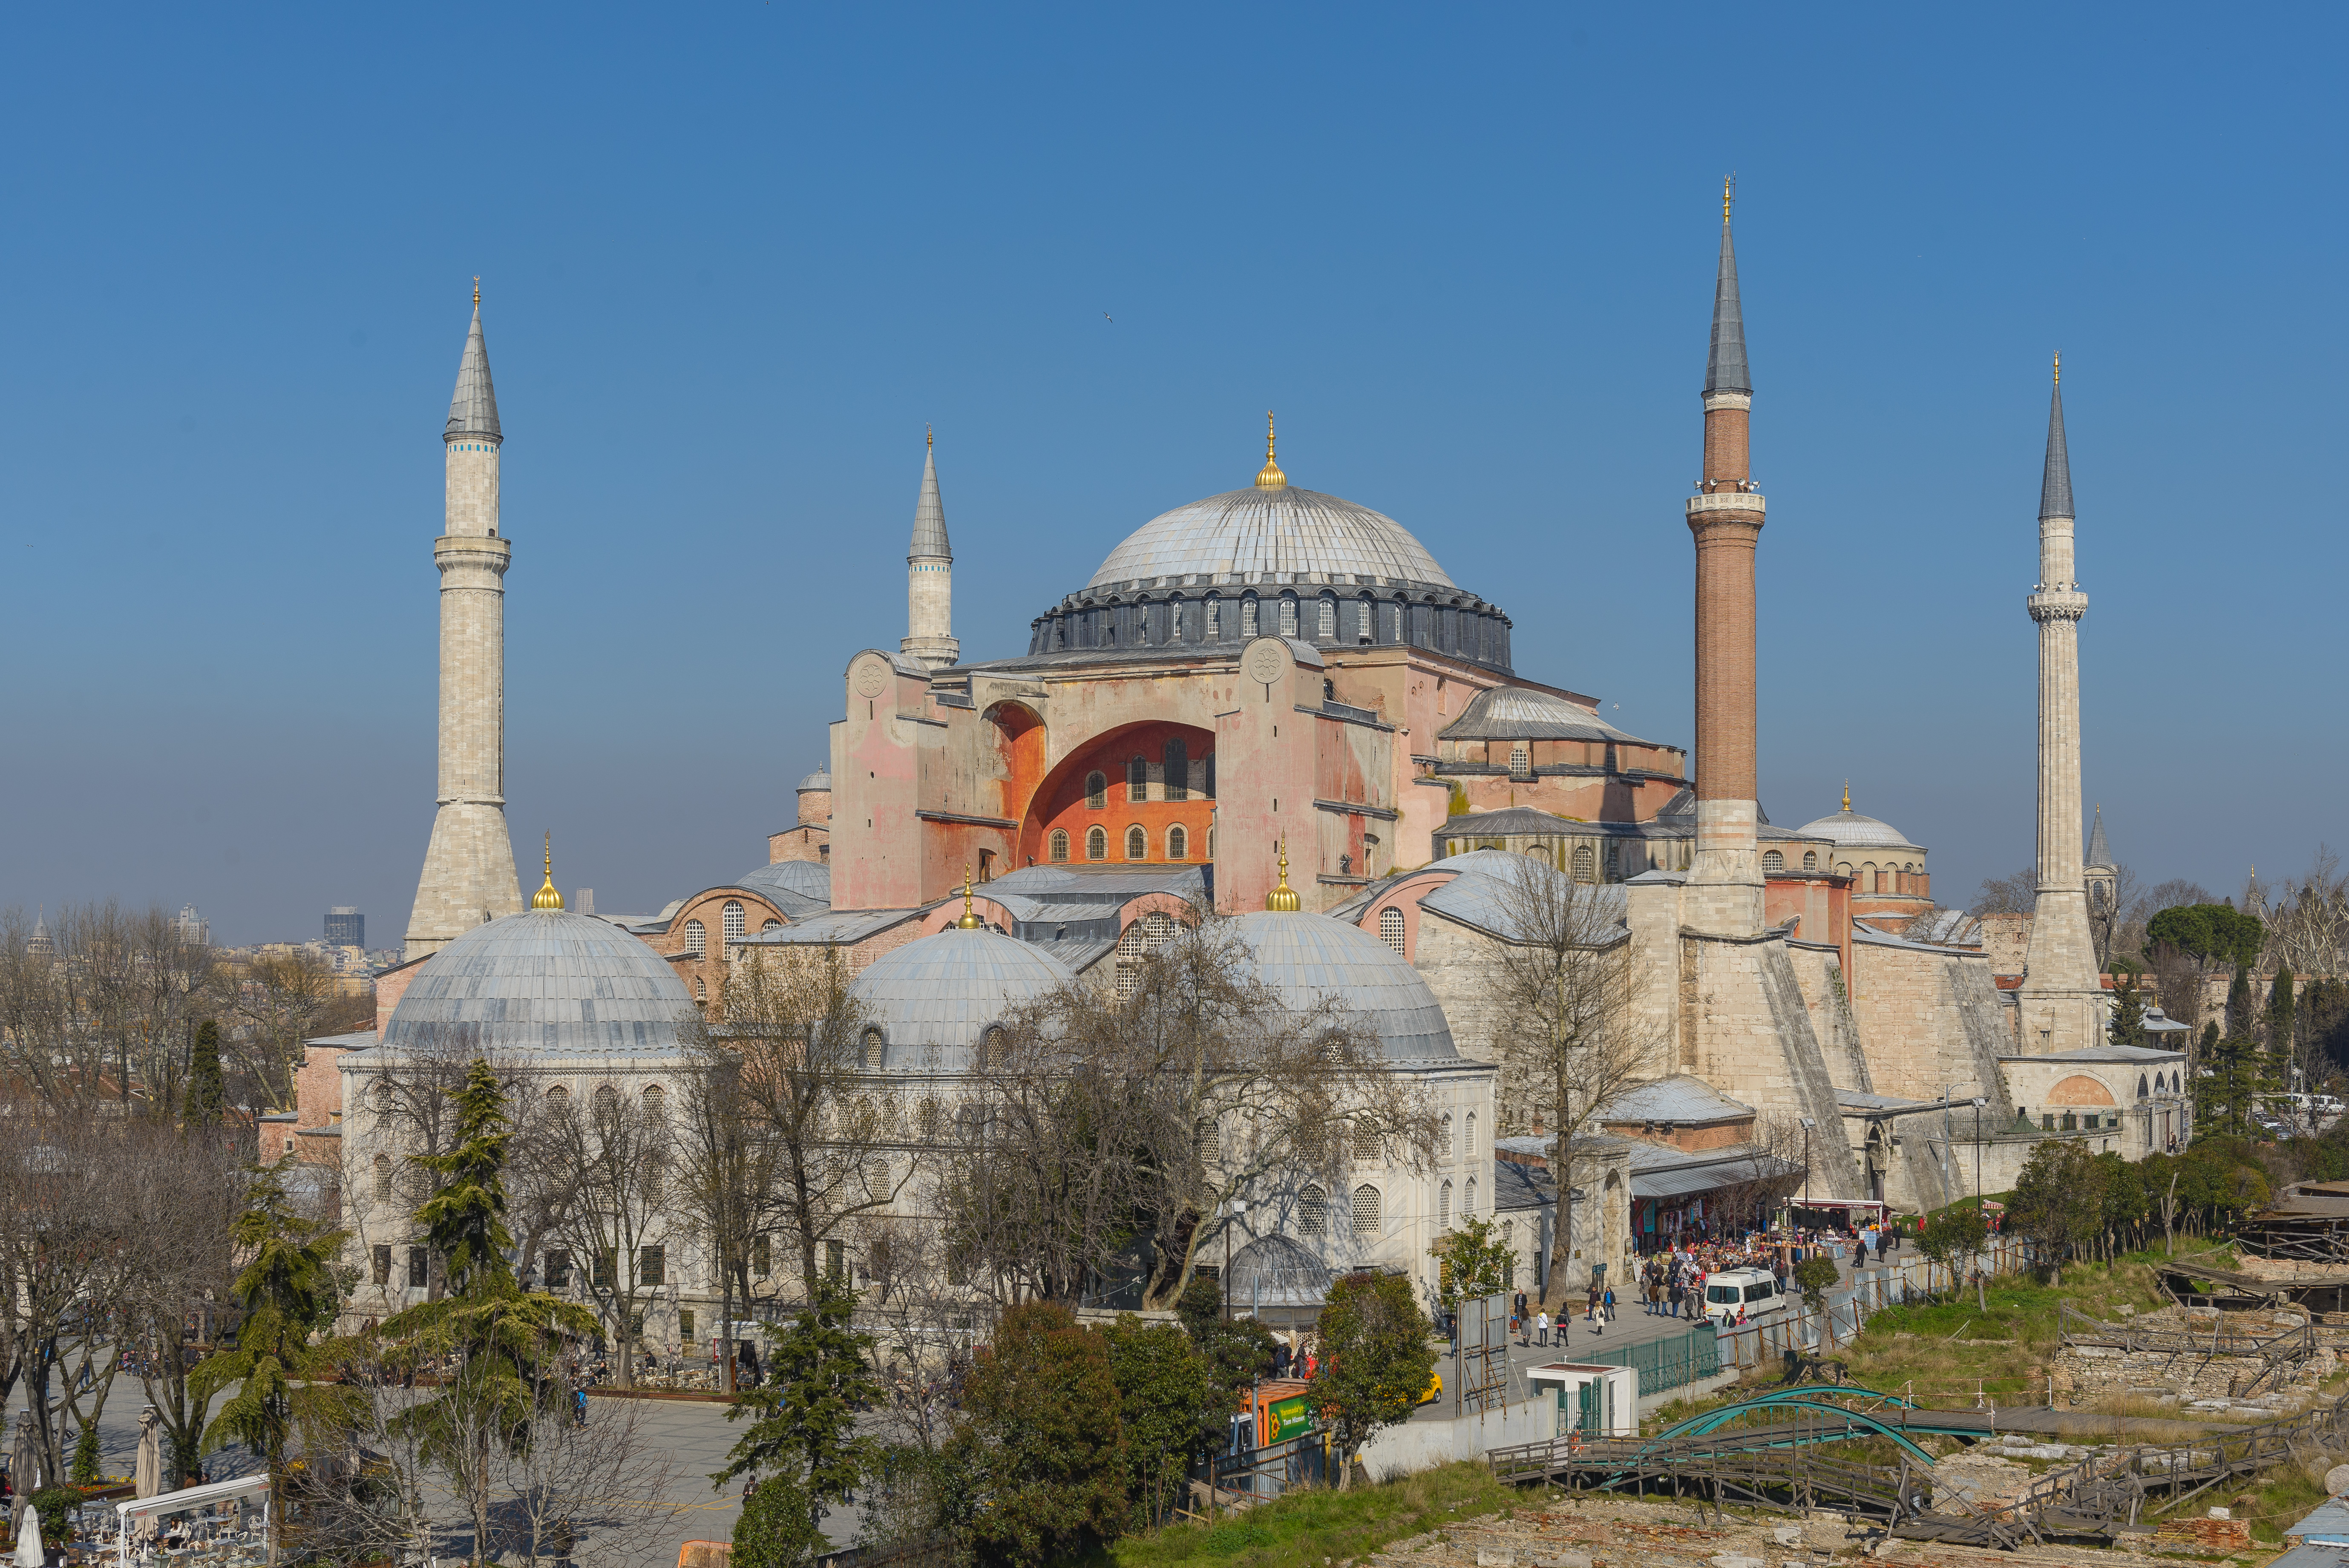
The inspiration for this castle came in three parts.  One was the castle Prof. Scott designed in class, the next is the Hagia Sophia in Turkey, and the final inspiration stemming from the design of the city of Asgard in the movie Thor.  I liked the permanence that the two latter structures gave, so I tried to convey the same in my castle.  It is bottom heavy to provide the illusion of stability and it is also very large (in concept) to further purvey that feeling.  

To model the castle, I used mostly the 'Solid Building' tools.  the exceptions being the cutouts, which use the Boolean Difference tool, and the supports, which use the Extrude to Point tool.  For all of these I used a combination of the handled curves and linear segments.  Another tool I found extremely useful is the Polar Array command.  This saved me a lot of time and irritation by doing most of the work.  I also learned about the Gumball tool from the Lynda.com videos, and this helped a lot with moving and duplicating objects (holding the Alt key while moving).  

The materials I used represent me as a jewelry designer, while the construction itself represents my love of Industrial Design.  The outer wall is aquamarine, the 'nests' are diamond. I used anodized aluminum for the main structure and gold and silver for the turrets/minarets.  I made the large orbiting toruses light elements, because of my love of lighting design.

Thursday, November 21, 2013

Christian McKenzie - Week 10: Laserscan


For this project I bought a cheap vinyl toy. I pulled it's head off for the scan. I thought it would be fun to model it into a  direct knock of a Kidrobot designer vinyl Dunny. http://www.kidrobot.com/  So i did and I named it Dummy. Laser scanning, I partnered with Mathew Grello.

I did an 8 veiw 360 scan of the object, then i did a bracket scan for a hole that wrapped around, then a did a single shot scan for a smaller hole. I then did an auto trim on the scans and aligned them. then i fused them. I then brought them into rapid works and ran a mesh repair wizard and filled any tiny holes that left in the mesh. Since the model wasn't very lumpy, but polished up anyway. I then used the solidify with a relaxed mesh and exported the model.

I traced the contour of the knob on the top that is used to hold on a head. and booleaned the model and the revolved surface together. I rebuilt and altered the controlpoints on a sphere to make the head and the ears, bolleaned them together and filleted the seam.